Ingenious design of double-sided printing fashion line
In Word XP, when designing a gutter for a test paper, many teachers insert a text box on the left side of the test paper and change the direction of the text, then enter the content in the gutter, and finally insert a vertical line. The test paper template generated by this method is only suitable for the single-sided printing test paper, and for the double-sided printing test paper, this method cannot achieve the accurate alignment of the front and back sides of the binding line, even by manual adjustment, it seems awkward . So is there a simpler way to achieve it? In fact, as long as we set different settings for the footer and header in the parity page, we can easily achieve it. The following are the specific implementation steps of the method.
1. Run Word XP, execute the "File / New" command and select the "Template" option to create a test paper template.
2. In the template file, execute "File / Page Setup", in the "Paper Size" tab page, set the size of the test paper to 8 open paper, in the "Layout" tab page, set the "Header and Footer" The "Parity page is different" option is selected (see Figure 1).
(figure 1)
3. In the menu bar, execute the "View / Header and Footer" command in turn, so that the interface will automatically switch to the edit state of the header and footer.
4. Move the mouse to the left of the page, and click the "Insert / Text Box" command to insert a text box in the editing area (make sure that the text box has no borders).
5. Change the writing direction of the text, and then enter the content that needs to appear within the gutter. After the input is complete, insert the vertical dotted line and close the header and footer to complete the design of the front binding line.
6. Execute the "Insert / Delimiter" command in the menu bar, and select the "Page Break" option in the subsequent interface (see Figure 2), so that you can set the gutter for even-numbered pages.
figure 2
7. Similarly, follow the design method of 3 to 5 to complete the design of the binding line on the reverse side of the test paper.
8. Click the "File" menu item and execute the "Save" command from the drop-down menu to save the newly created test paper template. Delete the second page of the template and save the template again, then when you call the template to output the test paper, Word XP will only open a blank page of the document.
So far, we have completed the design task of double-sided printing test paper binding line. If the designed test paper is printed and it is found that the binding lines on the front and back sides are not aligned, you can carefully adjust the position of the text box and the vertical dashed line until it is completely aligned.
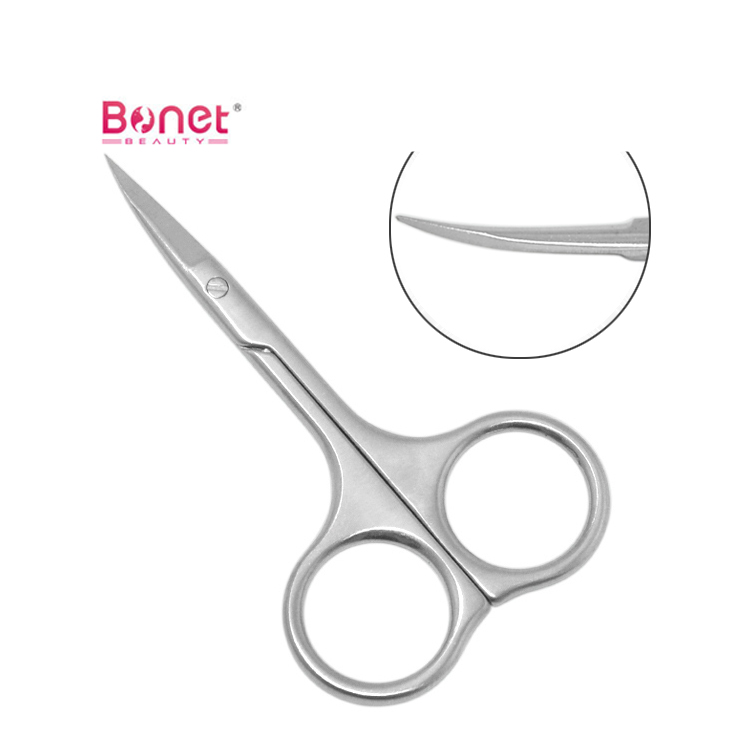
- SHARP BLADES with curved tip, sharp point, offering precision trimming. We all know there is nothing more frustrating than a dull pair of scissors when you want a nice, clean cut. Problem Solved.
- OPTIMUM CONTROL due to nicely sized finger holes, providing great accuracy.
- IDEAL FOR MANICURES; Shaping false eyelashes and even decoupage! It is a great feeling to have the right type of scissors handy when you need them!
- PRECISE & STURDY, with full blade contact, these surgical grade Stainless Steel Scissors resist rust and tarnish. Easily maintained by wiping with a soft, dry cloth and storing in a dry location.

Manicure Eyebrow Scissors,Stainless Steel Eyebrow Scissors,Slant Tip Eyebrow Scissors,Eyebrow Scissors,2 In 1 Brow Groomer
Bonet Houseware Co., Ltd. , https://www.manicureset.de